

Blog
How to create a receipt for a thermal printer?
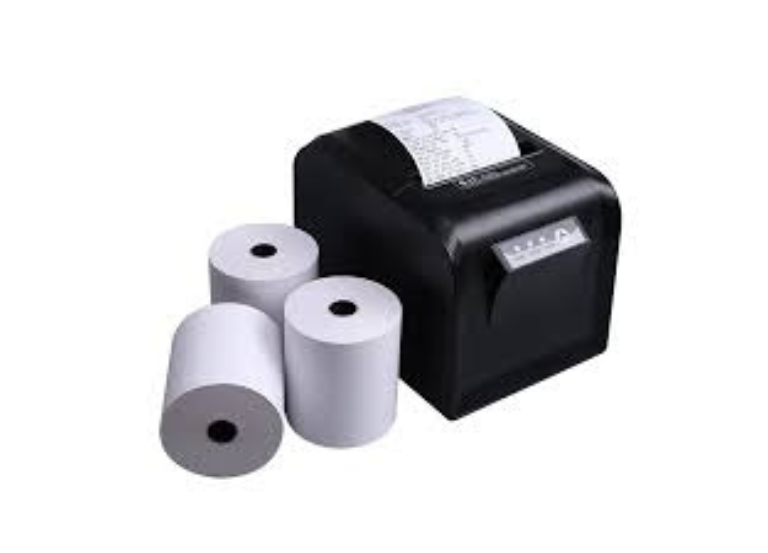
To generate a receipt for a thermal printer, one must connect the printer, install the necessary drivers, set the paper size (typically 58mm or 80mm), and utilize software such as POS systems, Excel, or Word to create a text-based template with a narrow layout, followed by printing directly through heat-based technology.
Steps to Generate a Receipt from a Thermal Printer:
- Setup and Driver Installation: Connect your printer using either USB or Bluetooth. Install the driver provided by the manufacturer, making sure that the system acknowledges it. (thermal printer, POS printer).
- Load Paper: Open the thermal printer compartment, insert the thermal paper roll correctly, and ensure it feeds properly.
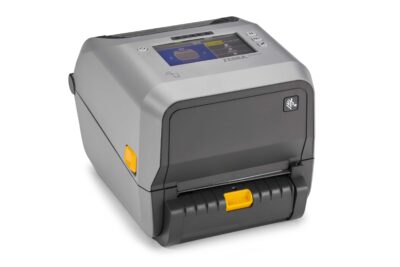
- Design the Receipt Layout:
- Software Options: To create a receipt for a thermal printer, use POS software (Square, Lightspeed, Shopify), receipt templates in Word/Excel, or specialized receipt generator software (e.g.ParzibytePushPrinter).
- Dimensions: Set document width to match your paper (typically 58mm or 80mm).
- Content: Include business name/logo, address, contact details, itemized list, prices, tax, and total.
- Configure Printing Settings:
- Paper Size: In the printer dialog, select the exact width of your paper.
- Density: Adjust print density to prevent smudged or faint text.
- Margins: Set minimal or zero margins to maximize space.
- Print Test and Finalize: Run a test print to check layout alignment