

Blog
How to install iDPRT Label printer?
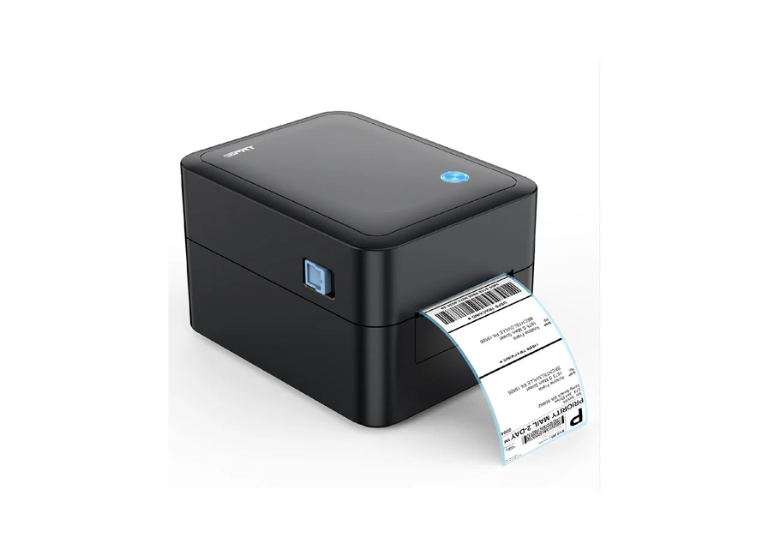
To install iDPRT label printer, connect it to computer using a USB cable and turn it on. Next, download the appropriate driver for your model (such as SP410 or SP320) from the official iDPRT website.
Execute the installer, adhere to the on-screen prompts, and make sure the paper is correctly loaded. Lastly, confirm the installation by checking the “Devices and Printers” section on your computer.
Step-by-Step Installation Guide
1. Prepare the Printer:
- Connect the printer to a power source and switch it on.
- Attach the USB cable to your computer.
- Open the lid, load your labels (ensuring they are face up), adjust the guides, and close the lid
2. Download the Driver:
- Go to the official iDPRT website, specifically the Downloads page
- Select your model (e.g., SP410, SP310, SP320) from the dropdown menu
- Download the appropriate driver for your operating system (Windows or MacOS)
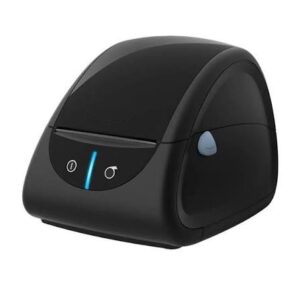
3. Install the Driver:
- Open the downloaded zip file and run the installer application
- Follow the on-screen prompts to complete the installation
4. Configure and Calibrate:
- Go to Control Panel > Devices and Printers to confirm the driver is installed.
- If necessary, run the “Utility tool” (downloadable from the site) to configure settings.
- Perform a self-test or calibration to ensure the paper is aligned.
5. Adjust Printer Settings:
- Right-click the installed printer driver in your control panel, select “Printing Preferences” and adjust settings like paper size, density, and speed
-
IX4L Industrial Label Printer(300dpi)